
Of ash and steel knee deep in the ground: “Knee-Deep in Dirt” is one of the first real exploration tests in Of Ash and Steel. Mix the smuggler sends Tristan to dig up three hidden chests scattered around Greyshaft Island. No markers, no map, just clues and your ability to actually pay attention to the world.
How to Start Knee-Deep in Dirt in Of Ash and Steel
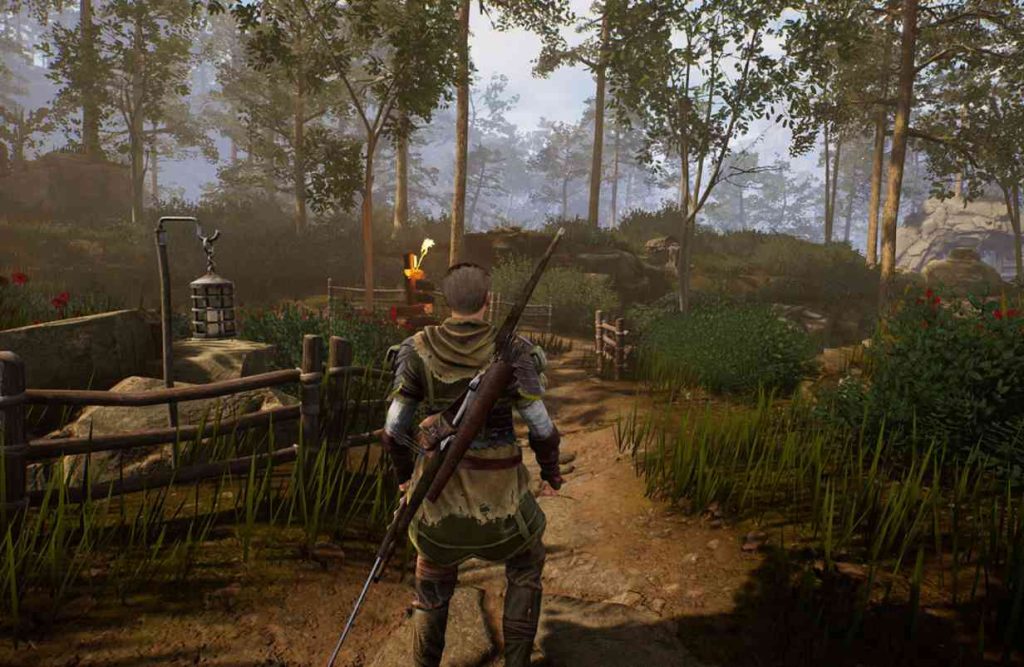
You can start the quest almost immediately after the tutorial.
- Leave the Spawning Yard (the starting area).
- Instead of following the main road straight, turn left off the path into the nearby ruins.
- In these ruins you’ll find Mix, a smuggler leaning around the area.
- To unlock the “I’m hunting” dialogue and accept the quest, Tristan needs 7 Agility.
Talk to Mix, choose the hunting option, and he’ll:
- Explain that he buried three chests in different locations
- Give you shovels and keys so you can actually dig and open them
If you don’t have 7 Agility yet, just remember this spot and come back once you level up and assign enough attribute points.
Mix Smuggler Location – Greyshaft Ruins Explained
To re-find Mix later:
- Start from the Spawning Yard.
- Take the left fork off the main road, heading into ruined stone structures.
- The area looks like a small broken camp in the ruins, with Mix hanging around there as a shady NPC quest giver.
He doesn’t move during the quest, so you can always come back to him to turn in your progress.
Quest Structure – How Knee-Deep in Dirt Works
Mix gives you three hints, each describing a different place:
- A cave in a gorge with tree houses
- A chest behind a mill in an abandoned village
- Old ruins past a logging camp, in a tougher area closer to Grayshaft
The game is designed so you don’t need to rush and do them all at once:
- The first two chests are in relatively low-level areas.
- The third chest is in a region with stronger enemies, which you’ll naturally visit later through the main story and side quests.
Important bug warning
There’s a known issue where dug-up chests sometimes don’t get counted for the quest. If that happens:
- Reload an earlier manual save (before digging that chest).
- Try looting the chests in a different order (for example: mill → cave → ruins instead of cave → mill → ruins).
So it’s smart to keep a couple of rolling saves while doing this quest.
First Chest Location – Cave in a Gorge with Tree Houses
How to reach the cave
- From Mix’s ruins, head east toward the river.
- Follow the road that passes by a poacher’s camp. You don’t have to fight him right now; you can just run by.
- The road then curves north into a narrow gorge.
- You’ll see tree houses and wooden structures built along the cliffs – that’s your sign you’re in the right place.
- Keep moving forward until you notice a small wooden shack.
- The cave entrance you need is basically opposite that shack, on the other side of the gorge wall.
Inside the cave – Lesovik fight tips
Inside the cave, a Lesovik beetle / wood goblin has claimed the place. It’s your mini-boss for this chest.
Basic combat tips if you’re still early game:
- Use a fast stance or weapons with quick attacks so you can dodge between its swings.
- Circle strafe around it rather than backing up in a straight line.
- Save your stamina for dodging instead of spamming heavy attacks.
- If you have any fire-related items or damage over time, this can help wear it down.
Once you defeat it, follow the cave to its dead end.
Where to dig in the cave
At the end of the cave:
- Look for two skeletons on the ground.
- Stand roughly between the skeletons where the dirt looks disturbed.
- Equip the shovels in your quick slot, then press the corresponding use button to start digging.
Cave chest rewards
From the first chest you get:
- Camp supplies ×1
- Torch ×3 – useful for dark areas and future caves
- Gold ×30
Not crazy rich, but a nice early boost plus some utility items.
Second Chest Location – Behind the Mill in the Abandoned Village
How to reach the abandoned village
- Find the road leading away from Marauder Nerest’s house / Spawning House.
- Follow this road south, passing by Fox’s camp on the way.
- Stay on the same road until you reach an abandoned village with several ruined houses and a white windmill nearby.
Finding the buried spot behind the mill
Once you enter the village:
- Run straight through the settlement toward the last house at the far end.
- Before you hit that final house, turn left into the wheat field.
- Make your way toward the white windmill standing near the field.
- Go behind the windmill. On the ground, one small patch of earth will be slightly different in color from the rest.
- Stand on that patch, equip your shovel, and start digging.
Mill chest rewards
From this chest you receive:
- Master key ×2 – very useful for skipping some locked doors/containers
- Gold ×50
These keys can easily pay off later by opening chests or doors that would otherwise need lockpicking or backtracking.
Third Chest Location – Old Ruins Behind the Logging Camp near Grayshaft
Keyword focus: Knee-Deep in Dirt logging camp ruins chest
This is the longest route and sits in a higher-level area, closer to Grayshaft. You don’t have to rush this part; you can leave it until your main quest naturally pushes you in that direction.
Step-by-step path to the old ruins
Starting from the abandoned village:
- Go to the southern part of the village and look for the exit to the east.
- Just outside, there’s a wooden bridge across the river – cross it.
- Continue until you reach a crossroads where an NPC named Radim is sitting.
- At this crossroads, turn left and stay on the main road.
- Follow it toward a set of fortress ruins. Go straight through those ruins.
- Keep heading east until you reach another crossroads with signposts.
- The top plank on the sign points toward Greyshaft – follow that direction northeast, crossing another wooden bridge.
- You’ll now pass a red guard tower. Keep going along the river; don’t leave the road.
- After some stone ruins, you’ll reach the outskirts of Grayshaft.
Inside this suburb:
- Move toward the notice board in the area.
- From the board, go west, passing through a wooden building on the outer edge.
- Continue along the road until you hit another crossroads near a logging camp (also with a notice board).
- At this crossroads, turn north and follow the path until you see more ancient ruins ahead.
Those ruins are your final destination.
Inside the Ruined Fortress – Avoiding the Wanderer
When you enter the ruined fortress:
- There’s a large Wanderer monster patrolling the main courtyard.
- You do not have to fight it if you don’t feel ready.
Stealth approach:
- Wait until the Wanderer turns away from you.
- As soon as it has its back to you, go to the right side of the courtyard.
- Head up the stairs leading to the higher part of the ruin.
On the upper level, you’ll run into a couple of skeevers / evilrats.
- You must kill them, because enemies nearby can prevent you from interacting with the chest.
Once the skeevers are dead, continue deeper into the ruin.
Where to Dig – Final Chest in the Old Ruins
Look for a room behind iron bars (sort of like a small cell or storage room).
Inside:
- There’s a patch of exposed dirt on the floor.
- Stand on it, equip your shovel, and start digging.
Final ruins chest rewards
You’ll get:
- Wine “Krestyanka” ×5 – handy consumables for buffs or selling
- Gold ×100
This is the most profitable chest in terms of gold, but also the one in the most dangerous region.
Bug Fix – Dug-Up Chests Not Counting in Knee-Deep in Dirt
Because the game doesn’t hold your hand and uses more old-school systems, it’s also a bit buggy at launch. Some players report that after digging up a chest, the quest counter doesn’t update.
If that happens to you:
- Reload a manual save made before digging that chest.
- Try looting them in a different order:
- Example:
- First: Mill
- Second: Cave
- Third: Old ruins
- Example:
General safety tips:
- Always keep at least two manual saves rotating.
- Make a save before each dig point and before heading into dangerous areas like the Wanderer’s fortress.
How to Finish the Quest – Best Choice with Mix’s Reward Options
Once you’ve looted all three chests, return to Mix in the same ruins where you first met him.
He’ll react to your success, and you get three dialogue options:
1. “That’s right, half for you, half for me?”
- You split the reward 50/50:
- 90 gold
- 250 experience
- You keep all the items you pulled from the chests
- This is the safest and most straightforward option.
2. “A quarter for you, the rest for me” (Insight 10 required)
- Requires 10 Insight, so it’s locked for early-game characters who haven’t focused on that attribute.
- If you pass this check, you get:
- 135 gold
- 250 experience
- Again, you keep all items from the chests
- This is the best peaceful outcome if you have enough Insight.
3. “I won’t give you anything”
- This triggers a fight with Mix.
- If you win:
- You keep all the gold from the chests.
- You also get to loot Mix’s gear and items off his body.
- However, killing NPCs can sometimes affect how certain groups react to you later, since Of Ash and Steel uses a reactive world system.
Best Reward Choice for Knee-Deep in Dirt
If we compare them simply:
- Early game, low level, weak gear
- Go with “half for you, half for me”.
- No risk, guaranteed XP, and you already got decent gold from the chests.
- Mid game or high Insight build
- If you reached Insight 10, take “a quarter for you, the rest for me”.
- Slightly more gold with no combat risk.
- Confident fighter / power build
- Pick “I won’t give you anything” if you’re comfortable fighting a human opponent and don’t mind possible social consequences.
- This can give you the maximum total value, especially if Mix carries good items in your run.
For most players doing this quest early, the Insight option won’t be available yet, so the realistic choice is between sharing and killing. If you’re doing a “good guy” roleplay run, the 50/50 option is perfectly fine.
Tips and Recommended Setup for Knee-Deep in Dirt
A few practical suggestions to make the quest smoother:
- Level a bit before the third chest
- Do some nearby side quests and exploration so the Wanderer area doesn’t feel overwhelming.
- Carry healing items and torches
- The first chest already gives torches, but keep at least one in your quick slot for any future caves or night exploration.
- Invest early in survivability and mobility
- Agility for dodging and for the 7 Agility requirement to start the quest.
- A bit of stamina so you don’t run out in mid-fight.
- Use manual saves aggressively
- Before each dig site
- Before entering the ruined fortress with the Wanderer
- Before confronting Mix if you’re thinking about refusing to pay him
Speedrun Route – Quick Clear of Knee-Deep in Dirt
If you’re overleveled or doing this on a second character, here’s a fast order:
- Grab the quest from Mix.
- Run to the cave chest (ruins → east to river → poacher camp → tree houses → cave, kill Lesovik, dig).
- Sprint to the abandoned village mill chest via Spawning House road → Fox’s camp → village → wheat field → behind white mill.
- Push straight through to Grayshaft via the bridge / Radim route and hit the old ruins chest:
- Bridge → Radim crossroads left → fortress ruins → signpost toward Grayshaft → red tower → Grayshaft outskirts → notice board → logging camp crossroads → north to ruins.
- Sneak past Wanderer, kill skeevers, dig final chest.
- Fast travel / run back to Mix and pick your reward choice.
This way you only pass each area once and stack exploration with quest progress.
FAQ – Knee-Deep in Dirt in Of Ash and Steel
Q: Can I fail the quest if I do the chests much later?
A: No hard time limit is known right now. You can leave the third chest for when the story leads you to Grayshaft naturally.
Q: What if I spend or drop the shovels?
A: Keep at least one shovel in your inventory while working on the quest. If you somehow lose them, check vendors or loot; worst case, reload an earlier save before they were lost.
Q: Can I restart the quest if I kill Mix?
A: Once Mix is dead, this specific quest line is effectively done. If you want to see different outcomes, you’ll need an earlier save.
Q: Are the chest contents fixed or random?
A: The core rewards listed (gold, keys, wine, torches, camp supplies) are fixed for this quest, though your general loot from nearby enemies will vary.