
If you’re stuck in the Combined Forces mission in Avatar: Frontiers of Pandora, constantly dying in the gas chamber while enemies swarm you — yeah, you’re definitely not alone. A lot of players hit this moment and think the game is bugged or unfairly difficult.
It feels broken.
It feels unfair.
And it definitely feels like the game forgot to explain something important.
The good news? You’re not doing anything wrong, and this section isn’t actually bugged. The game just does a terrible job of communicating what it wants you to do next. You’re not meant to stand your ground or clear every enemy — you’re meant to escape.
Once you understand that this part is about movement and timing, not combat, everything clicks into place. Let’s break it down and get you through it without another frustrating death loop.
The Short Version (If You Just Want Out)
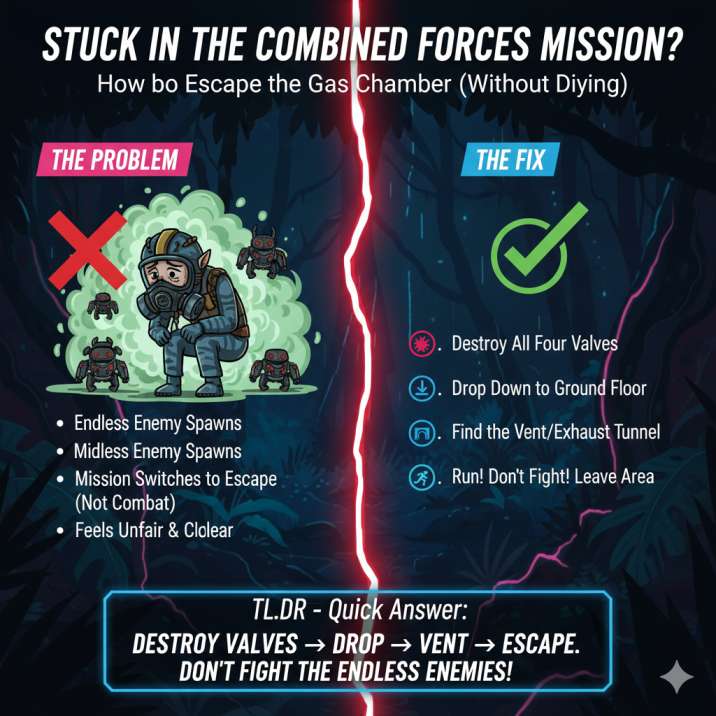
Once you destroy the four pressure valves, stop fighting. Seriously — this is the moment where most players mess up by thinking they need to clear the room or survive another wave. You don’t.
👉 Drop down to the ground floor as soon as the last valve blows
👉 Look for the vent or exhaust tunnel near the lower level
👉 Run straight through it and keep moving until you exit the area
That’s it. That’s the intended solution. The game wants you to escape, not stand your ground. Enemies will keep spawning to pressure you, but they’re not meant to be defeated. If you stay and fight, you’ll just get overwhelmed and die repeatedly. Once you know to bail immediately, this section becomes quick, clean, and surprisingly easy.
Why This Part Feels So Bad
The biggest problem here is that the game never clearly tells you what to do next. Up to this point, Avatar: Frontiers of Pandora trains you to fight your way through encounters, so it’s natural to assume this section works the same way. Most players think they’re supposed to survive one last intense wave of enemies.
But here’s the truth:
The enemies never stop spawning.
You’re not meant to outfight them.
And the mission quietly switches from combat mode to escape mode without warning.
That sudden shift is what makes the moment feel broken. You’re not failing because of bad aim or low gear — you’re failing because the game doesn’t clearly communicate the objective change. Once you realize it’s about escaping, not surviving, everything suddenly makes sense.
Read also: Where to Find All Trr’ong Artifacts in Avatar: Frontiers of Pandora
Step-by-Step: How to Escape the Gas Chamber
1. Destroy All Four Valves
The valves don’t open all at once — they activate one by one, so you’ll need to stay alert. As soon as a valve opens, focus on it immediately and take it out as fast as you can. Speed matters more than precision here.
Don’t get distracted by the enemies swarming around you. They’re designed to slow you down, not to be fully defeated. Trying to clear the room will only waste time and get you overwhelmed. Instead, keep moving, circle the area if needed, and wait for each valve to expose itself. Once it does, shoot it and reposition. Staying mobile is the key to surviving this phase and reaching the escape point.
2. Drop Down Immediately After the Last Valve
The moment the fourth valve explodes, you need to move — and fast. This is the most important transition in the entire encounter. As soon as you see that final valve go, don’t stick around to check your surroundings or fight off nearby enemies.
Jump straight down to the lower level and commit to the escape. At this point, the game is actively trying to overwhelm you with pressure, not challenge your combat skills. Enemies will close in quickly, and hesitating for even a few seconds is usually what gets players killed.
Ignore everything except your path forward. Once you drop down, you’re officially in escape mode, and surviving depends entirely on momentum, not firepower.
3. Find the Vent Tunnel
Once you’ve dropped to the ground level, your next goal is to locate the vent tunnel. It’s usually positioned low along the wall, so keep your camera angled slightly downward as you move. This vent is easy to miss if you’re panicking or looking for enemies instead of an exit.
Run straight into the vent and don’t stop moving. This is the actual escape route the game wants you to take, even though it never clearly points it out. Once you’re inside, you’re essentially safe — enemies won’t follow you in, and the pressure immediately drops. Keep moving through the tunnel and the mission will wrap up shortly after, signaling that you’ve successfully escaped the gas chamber.
Dying Before You Can Escape? Try This
If you’re getting swarmed before you can reach the vent, don’t panic — this happens to a lot of players. The key thing to remember is that standing still is basically a death sentence in this section. The enemies are designed to overwhelm you if you slow down, so constant movement is your best defense.
Only take out enemies that are directly blocking your path. Don’t waste time fighting groups that aren’t in your way. If you have healing items, mobility boosts, or anything that helps you reposition quickly, this is the moment to use them. There’s no reason to save resources here.
And if it still feels unfair, lowering the difficulty temporarily is completely valid. This part is noticeably harder than the rest of the mission, and adjusting the settings doesn’t punish you in any way.
Why It Feels Like the Mission Resets
When you die during this section, the game presents two options, and this is where a lot of confusion comes from. You’ll see Retry and Leave, but the game doesn’t do a great job explaining what either one actually means.
Choosing Retry reloads you from the last checkpoint, letting you jump right back into the mission and try again. Choosing Leave, on the other hand, exits the mission entirely and drops you back outside the area. This can make it feel like all your progress was wiped, even though nothing actually bugged out.
If you’re still trying to finish the mission, always select Retry. Picking Leave makes it seem like the mission reset, when really you just backed out of it.
Final Verdict
The Combined Forces gas chamber isn’t actually broken — it’s just poorly communicated. The game never clearly explains that this section isn’t about surviving a final stand or clearing enemies. Instead, it quietly expects you to switch mindsets from fighting to escaping, which catches a lot of players off guard.
Once you understand that you’re not meant to hold your ground, everything clicks into place. Destroy the valves, drop down to the lower level, find the vent, and get out. That’s it. No prolonged combat, no last stand, no hidden mechanic — just a fast exit the game never properly explains.
Once you know the trick, the entire section takes less than a minute. It’s not difficult — it’s just badly signposted.
Read more articles: